Rubber bands are commonly used with braces, but can they be used with Invisalign clear aligners too?
They sure can! Rubber bands can be used with either type of treatment to boost the effectiveness of your treatment plan.
When you visit our Summerlin Las Vegas orthodontist office, your orthodontist (Dr. Saxe) will create your very own personalized treatment plan. If your condition requires rubber bands to help align your bite, these will be included in your treatment plan and we’ll tell you everything you need to know about wearing and caring for your rubber bands.
In the meantime, here’s a quick guide to Invisalign rubber bands!
What are Invisalign rubber bands?
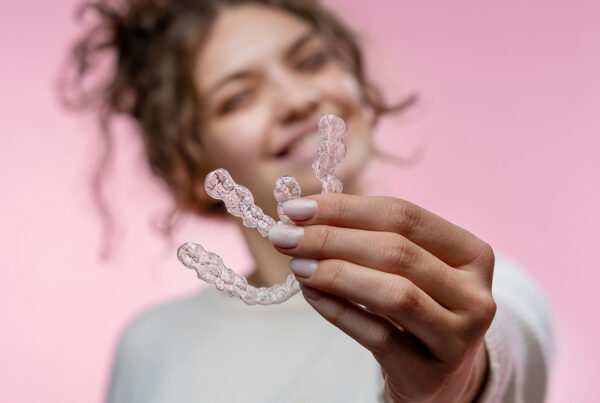
An Invisalign rubber band is a small elastic that’s attached to an Invisalign button (also called an Invisalign attachment) located on the top clear aligner and an Invisalign button located on the bottom clear aligner. (With braces, these rubber bands are attached to a hook on the top braces and a hook on the lower braces.)
When in place, rubber bands apply consistent pressure to the jaw bones to guide them in the direction that promotes a healthy alignment between the top and bottom jaw bones.
What do rubber bands do for Invisalign?
Here’s an example of how rubber bands for Invisalign and braces work:
If you have an overbite – meaning your upper jaw extends far over your lower jaw – treatment aims to shift the upper jaw backward and the lower jaw forward to align them.
In this case, your rubber bands will attach to an Invisalign button on the bottom teeth, toward the back of your mouth, and a button on the top teeth, toward your canines. The rubber band tension will guide the upper jaw backward and the lower jaw forward, effectively treating an overbite.
If you have an underbite, then vice versa. You want your lower jaw to shift backward and your upper jaw to move forward, so your rubber bands will be attached the opposite way.
Your bands will be hooked on a top arch button and a lower arch button to create tension that accelerates the braces straightening process and aligns the jaw bones. Your specific condition will determine where your bands are hooked and how long throughout your treatment process you’ll be wearing them.
Placing your rubber bands on Invisalign is simple too!
How to put rubber bands on Invisalign
- First things first: wash your hands! Always ensure clean hands before touching your mouth.
- Place a rubber band on your pointer finger. Starting on either the top aligner or bottom aligner, place your pointer finger and rubber band on top of the Invisalign hook.
- Use your thumb to pull the rubber band down to the bottom button (or up to the top button) and hook it in place.
When you need to remove your clear aligners, simply unhook your rubber band on either the top aligner or bottom aligner first (with your mouth closed), then remove the rubber band. Throw the rubber band away and use your finger tips to start removing the aligners on the insides of the molars!
Still have questions about Invisalign rubber bands?
Please don’t hesitate to reach out to us with any questions! We’re happy to discuss any of our treatments or technologies with you.
Our team is here to provide you with the information you need to make the best decision for you or your child’s smile. We’ll help you love your smile!
Take the first step to achieve the smile you’ve always wanted by requesting your complimentary consultation with us.